Showing posts with label organize. Show all posts

Saturday, April 24, 2010

More laundry room organization!


I had an ugly shelf in my laundry room that needed to look better. We are selling our house and I want everything to look perfect. Yes, it would have been fine the way it was but I was not 100% happy with it.

I looked around for large baskets that would hold our extra paper towels, toilet paper, light bulbs, and storage bags. I could not find anything for under $20. I did not want to spend a total of $80 on baskets. I tried to settle on some that were $10 but the just were not big enough.

I went to our local craft store with a coupon in hand. I was going to find something! I looked the entire store over and nothing caught my eye. I was walking out when the unstained wood grabbed my attention. They were the perfect size containers for my laundry room. They were even on sale. I picked them up for $4.99 each. Such a bargain. I figured I could paint them with leftover paint I had laying around. I did the entire project during nap time. The project is so easy.

Here is the before picture. I placed the new boxes on the shelf to see if they would fit..woohooo they are perfect!
I painted a quick coat of white paint on all of the boxes. I was going for a rustic look so I did not try to cover the wood.
After I painted all of the boxes white I added a touch of blue. The white paint was not dry. I took a dry brush and a small amount of blue paint. I wanted a weathered look.
Woohoo, the finished product. I cut some scrap book paper and printed off labels.


I love it!


Thursday, November 19, 2009

Mail, mail go away...come again another day!


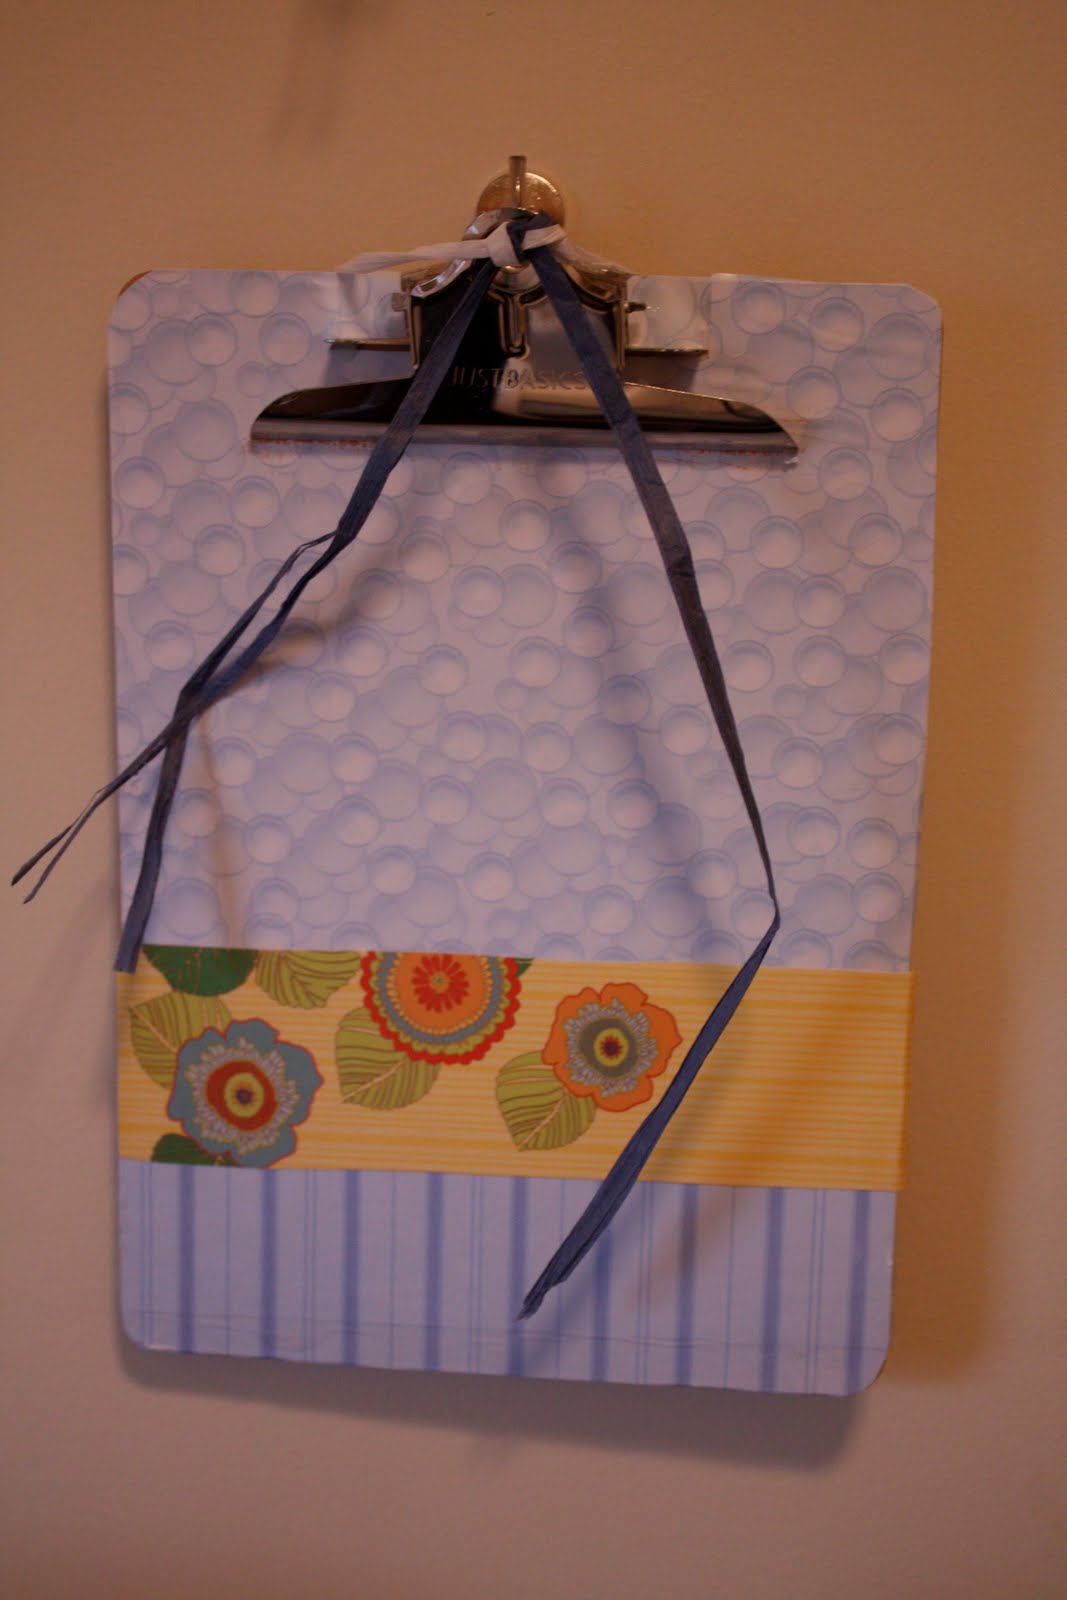
After being fed up with counter clutter I came up with an easy solution....clip boards. I don't know about you but my counters were always cluttered with bills, catalogs, coupons, and more. I found an easy way to organize my families clutter.
 I went to office max and bought 4 standard size clip boards for under $2.00 each. and 2 mini clip boards for under $1.00. I searched through my scrapbook paper and found some paper that matched my window treatments. I also found some Mod Podge. 
I cut the paper to the size of the clip boards, brushed on a generous amount of Mod Podge and the clip boards were ready to be hung up.
I chose to put mine in the laundry room which is just off of our mudroom. 
The clip boards hold the following. 
  • Family Calendar
  • Coupons
  • Kid's Schedule
  • Bills
  • Stamps
I love how they turned out. We no longer have cluttered counters. I am one happy mommy!

Before the boards get covered with our clutter
Organized!
I love the mini boards. Below the mini board is a canvas that Big G painted for me.
Close up of the big boards
More of the big boards
Close up of the mini board.

A friend of mine posted a great tutorial about organizing homework clutter. Check it out. She is also doing a giveaway this week for a wetbag...woohoo.

Friday, October 30, 2009

Great learning tools

I had to share our favorite website. 


It's great for kids of all and I mean all ages. Big G loves it. When I taught my second graders and parents adored it...give it a try. We try to log on at least once a day. We love the non-fiction books under "I'm Reading"

I just picked these books up a couple of weeks ago. We think they are great. I work on 4 letters a week. Little G loves looking at the pictures and Big G loves working on identifying letters. I bought ours at Target.

Wednesday, October 21, 2009

Toys, toys, toys

Organizing toys made simple! With two kids under 2 years old we have tons of toys laying around. I found a local carpenter to bring my toy storage design to life. The top of the unit is a book browser. The kids can browse the books instead of looking at the spines on a book shelf. I had something similar in my classroom when I taught. The bottom two shelves hold baskets for toys. I took pictures of the toys and attached the pictures to the baskets. The pictures make cleaning up a breeze for your kiddos and husbands. Big G has been cleaning up since 1.5 years old. 


Before

After
I took a picture of the toys and attached the picture to scrapbook paper. Then off to office Max. I laminated the pictures to make them more durable. After they were laminated I punched holes and attached the pictures to the baskets. If you don't want to splurge on laminating you can use clear contact paper.